File Recovery Lab
Introduction
This hands-on lab simulates a real-world digital forensics scenario, demonstrating the recovery of deleted files and evidence using industry-standard tools: FTK Imager and Autopsy. In this exercise, we will assume the role of a digital forensics expert to investigate a compromised system.
Phase 1: Environment Setup and Incident Simulation
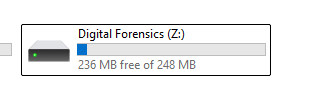
To create a manageable lab environment, a dedicated 250MB disk partition (Z:) was provisioned. In a real-world investigation, analysts typically examine full-capacity drives (e.g., C: or D:).
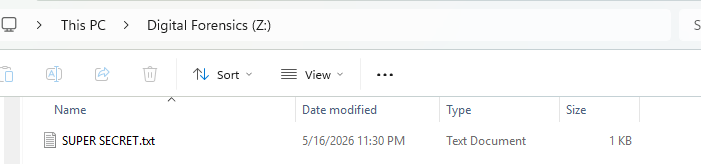
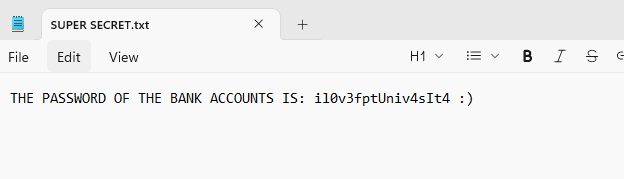
Within the Z: drive, two files were created to represent critical evidentiary data.

The contents of these files are detailed in the images below:

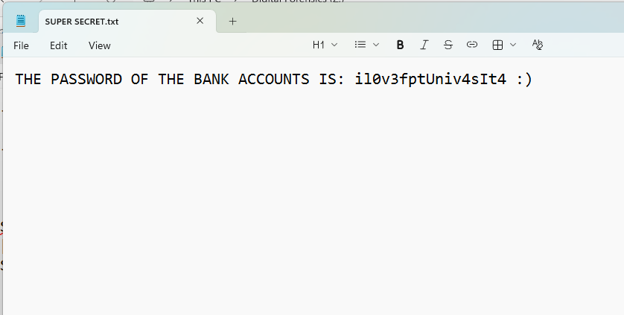
Simulating the Attack: Suppose a malicious actor gains unauthorized access to this system and attempts to destroy the evidence. We will simulate this by deleting the two files using different methods:
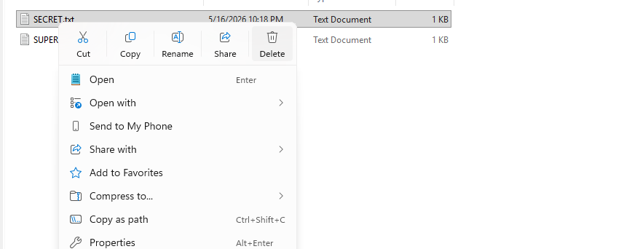
- Standard Deletion: The first file is deleted using the standard
Deletekey, which moves it to the Recycle Bin.
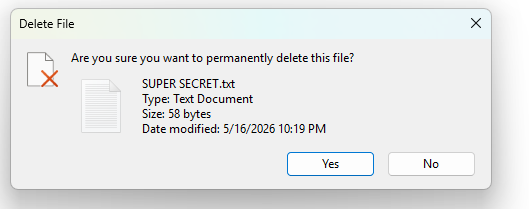
- Permanent Deletion: The second file is permanently deleted using
Shift + Delete, bypassing the Recycle Bin entirely.
Following these actions, the drive appears completely empty to a standard user.

Phase 2: Evidence Acquisition
As digital forensics analysts, our objective is to recover these deleted files to support an investigation.
A fundamental rule of digital forensics is to never investigate the target machine directly. Instead, we acquire a forensic image of the drive, transfer it to a secure storage medium, and analyze it in an isolated laboratory environment.
We will proceed by creating a forensic copy of the Z: drive using FTK Imager.
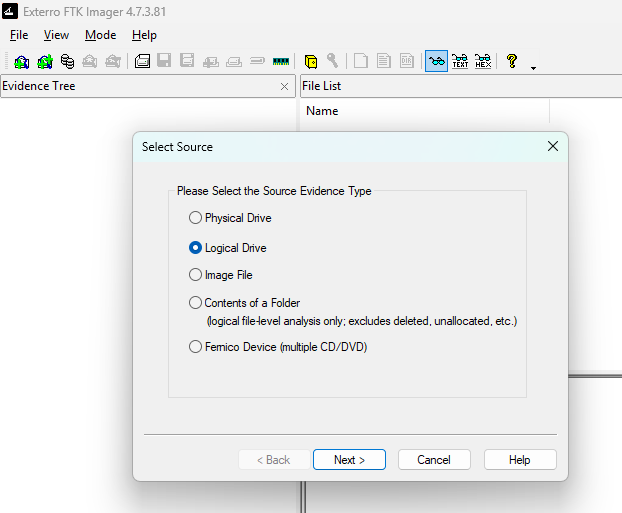
Select Logical Drive as the source type.
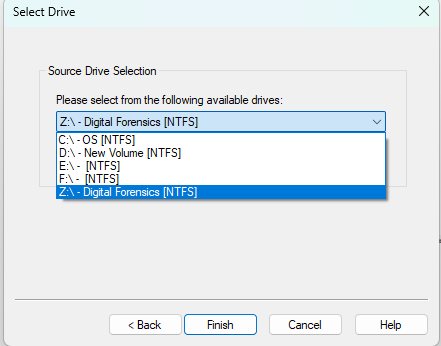
Choose the target drive (Z:) for acquisition.
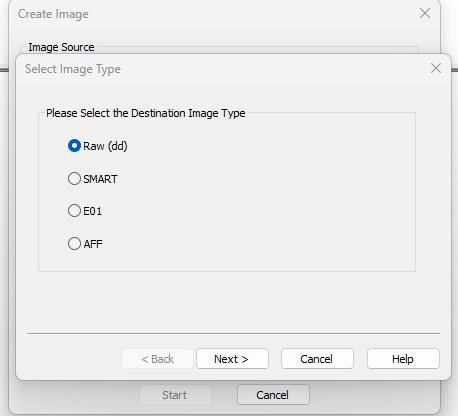
Select the Raw (dd) image format for a bit-by-bit copy.
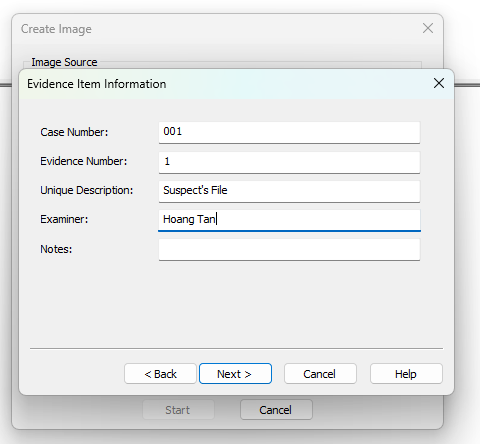
Provide an appropriate case or file name (any identifier is acceptable for this lab), then proceed by clicking Next.
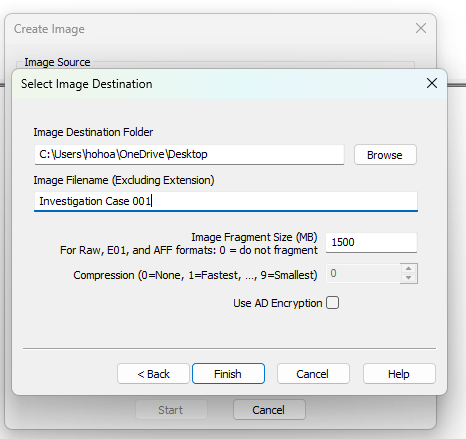
Specify the destination directory and assign a name to the output image file.
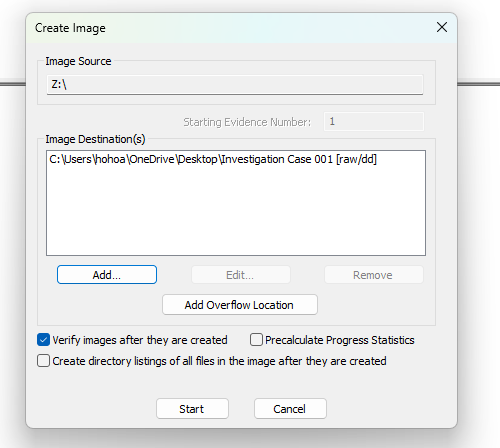
Click Start to begin the imaging process.
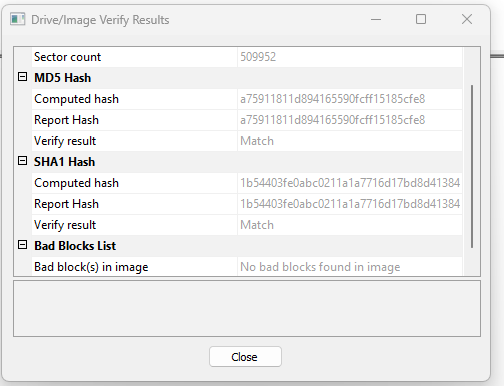
Upon completion, FTK Imager generates verification hashes (MD5, SHA-1). Preserving these hash values is critical, as they guarantee the integrity of the evidence throughout the investigation. Ensure these are documented securely.

The resulting forensic image file cannot be mounted or opened by a standard operating system. It requires specialized forensic software for analysis.
Phase 3: Forensic Analysis with Autopsy
We will utilize Autopsy, a powerful digital forensics platform, to analyze the acquired disk image and extract the necessary evidence.
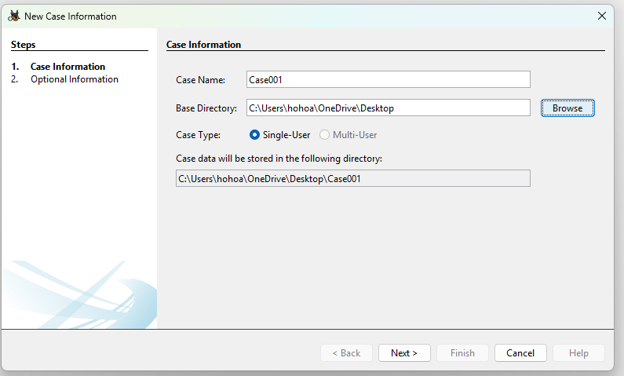
Begin by selecting New Case and assigning it a descriptive name.
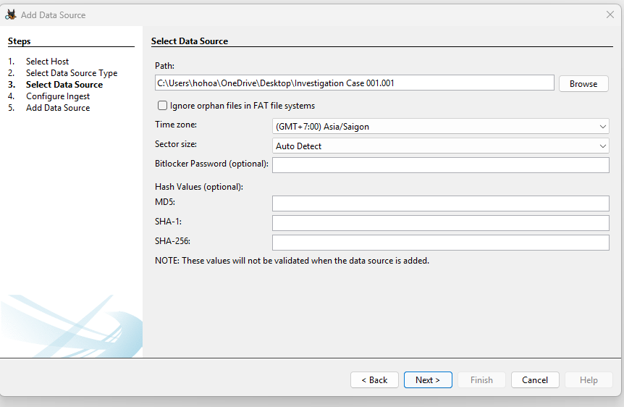
Add a new data source, pointing to the forensic image file created in the previous step, and click Next.
Navigating Autopsy: The main interface of Autopsy provides comprehensive tools for examining the evidence.
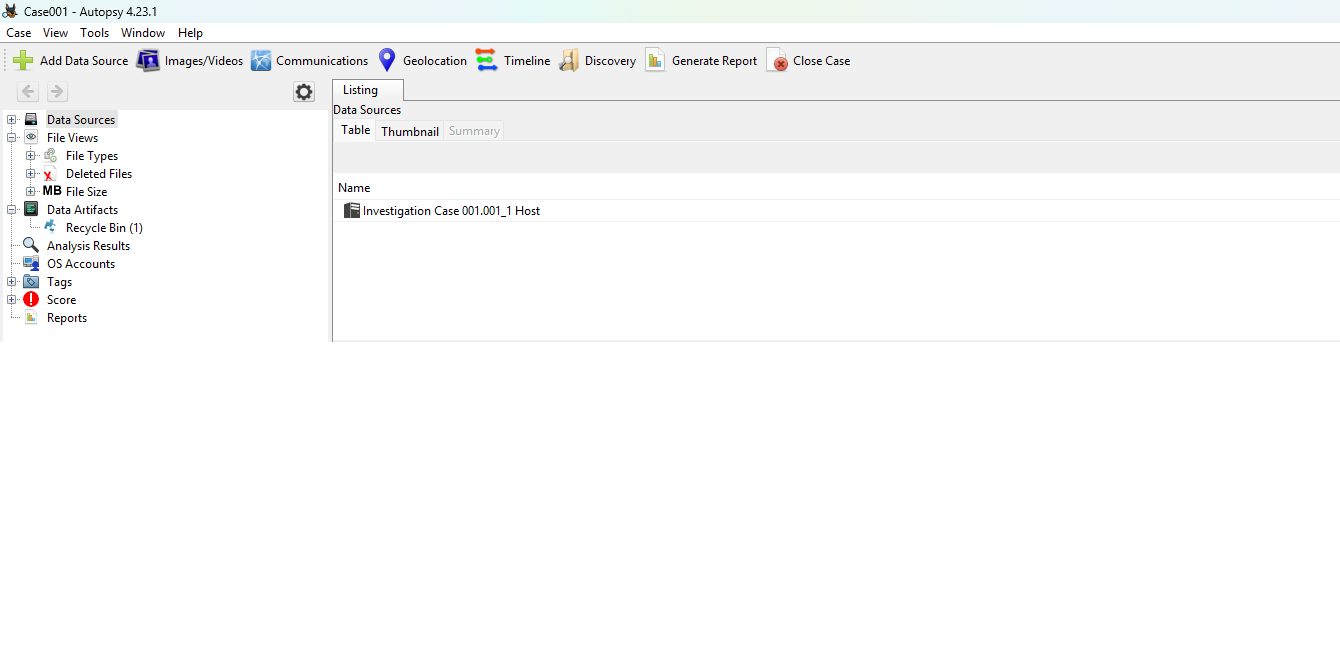
A particularly valuable feature for investigations is the Timeline analysis.
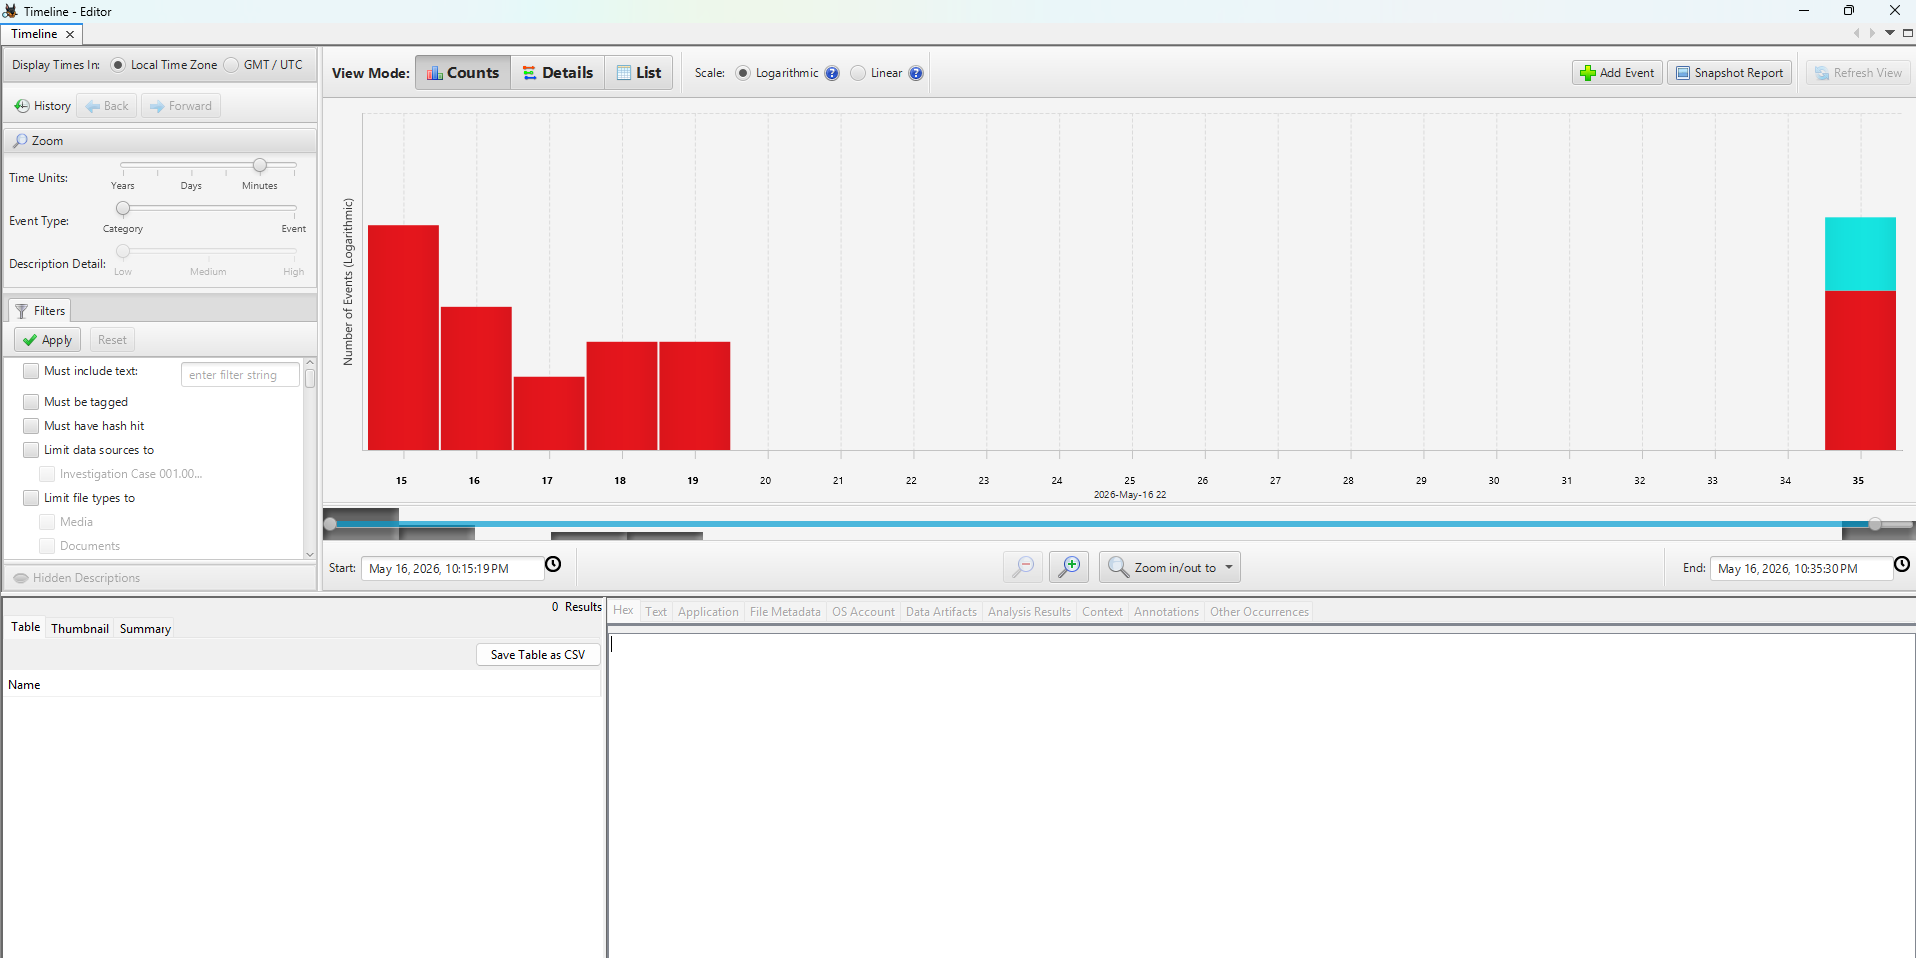
This section reconstructs the chronological sequence of events on the drive.
By switching to the List tab, analysts can review detailed logs of file system activity, including file creation, access, modification, and deletion. As expected, the actions performed at the beginning of this lab are accurately recorded.
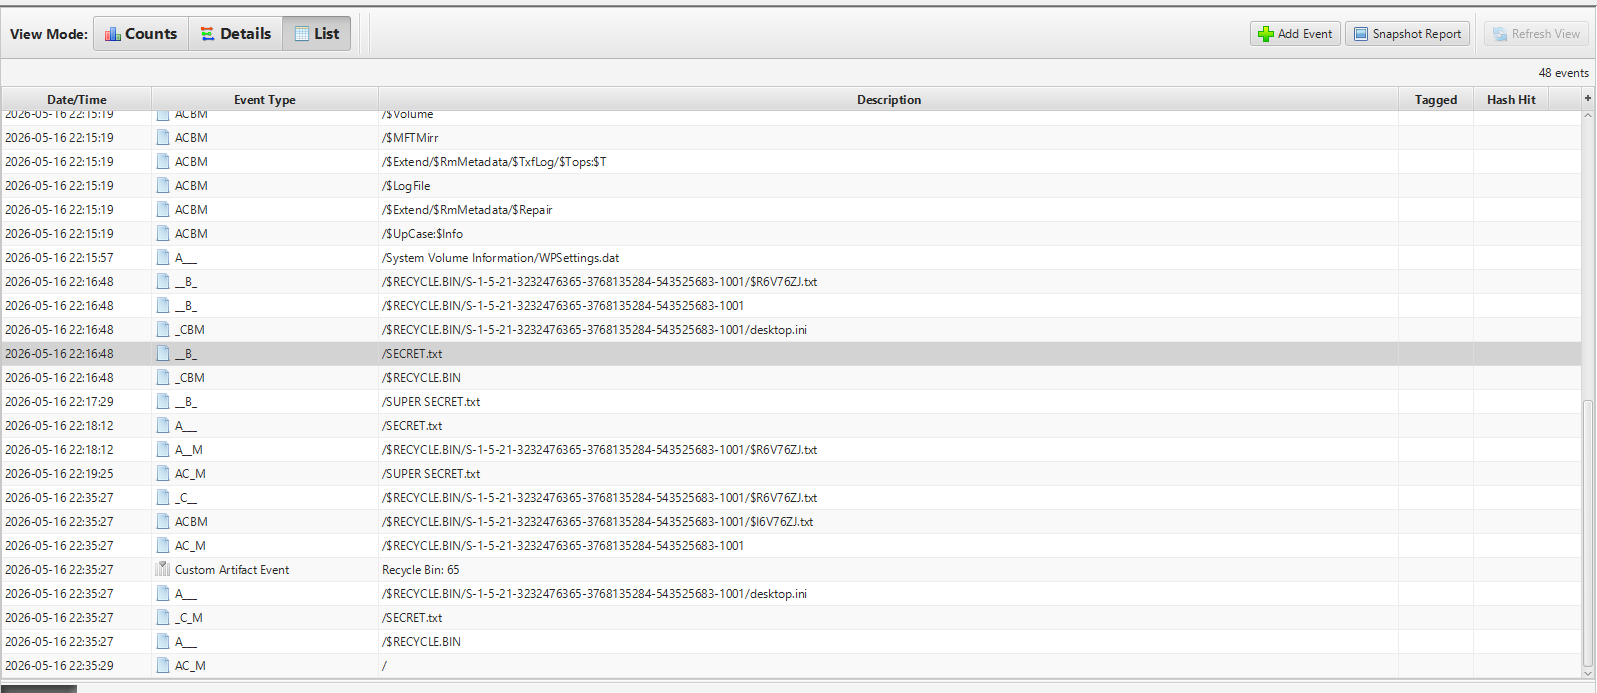
- The file
SECRETwas created at 22:16, followed bySUPER SECRETat 22:17.

- Both files were subsequently accessed at 22:18.

Similar chronological patterns apply to other file system events (e.g., modified, changed). Autopsy effectively translates complex disk activity into an intuitive, readable format, ensuring that any action taken on the system is logged and traceable.
Analyzing Deletion Methods
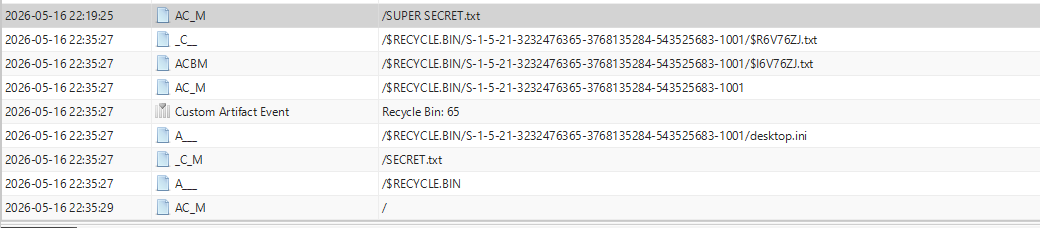
The Timeline feature clearly illustrates the distinction between the two deletion methods executed earlier.
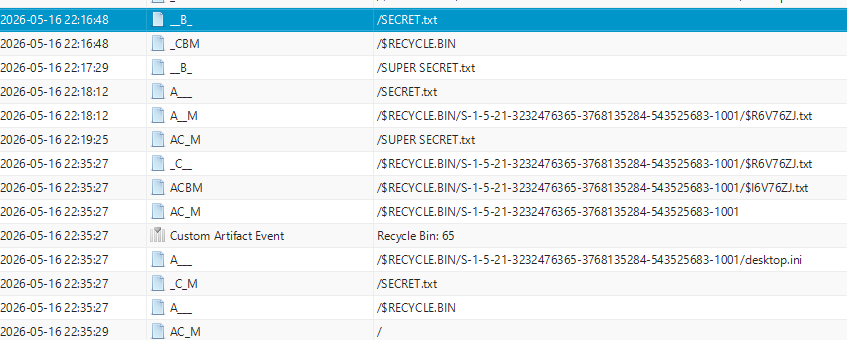
The file SECRET was subjected to a standard deletion. Consequently, traces of it remain visible, with its location reported under the /$RECYCLE.BIN/ directory.
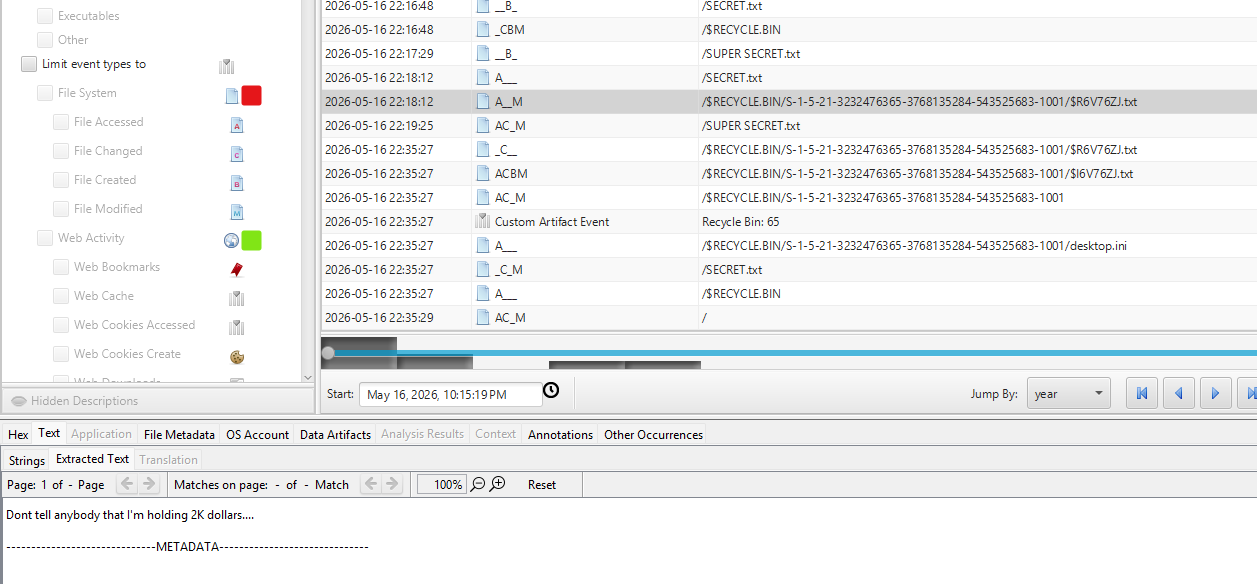
Extracting this file reveals that its contents remain intact and match the original data.
Conversely, SUPER SECRET underwent permanent deletion (Shift + Delete). After its final “Modified” event, the file system no longer actively tracks it.
Phase 4: File Recovery and Extraction
To recover these files, navigate back to the primary Autopsy interface and locate the Deleted Files section in the directory tree.
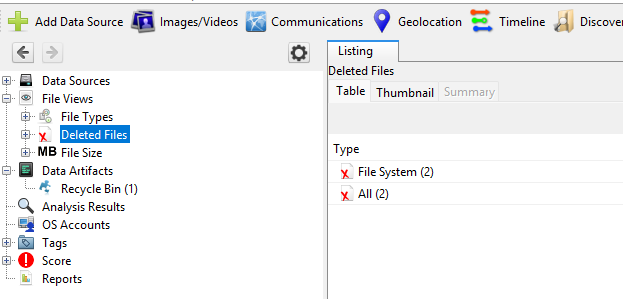
Expand the File System node.

Here, we locate the remnants of our deleted evidence.
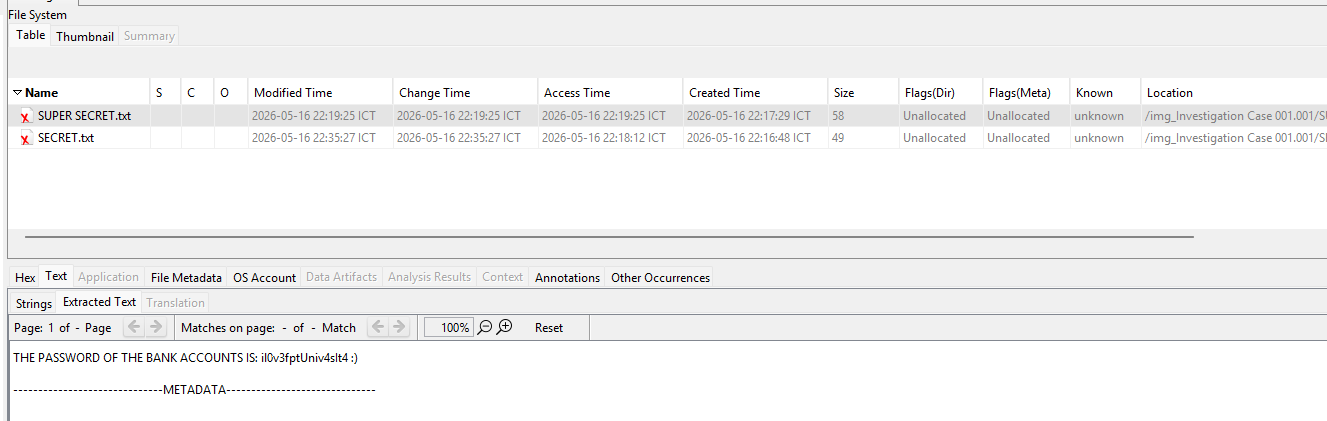
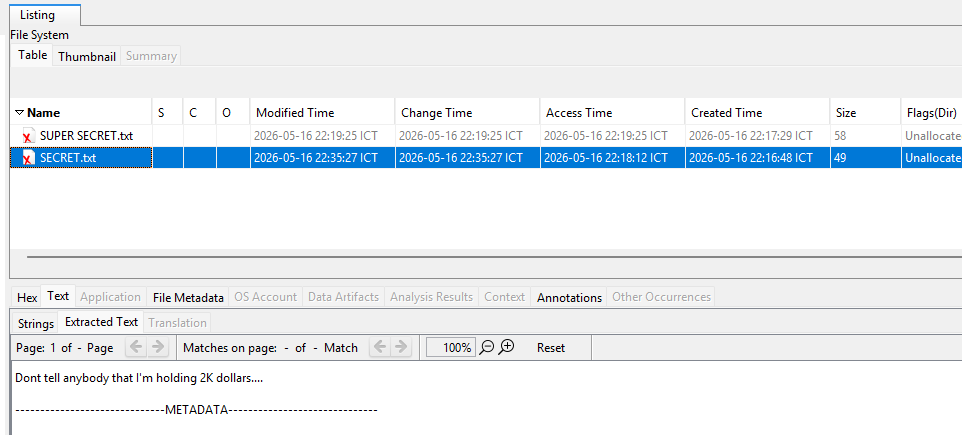
By examining the data, we can confirm the contents match our original files perfectly.
To formally recover the evidence, right-click the target file and select Extract File(s).
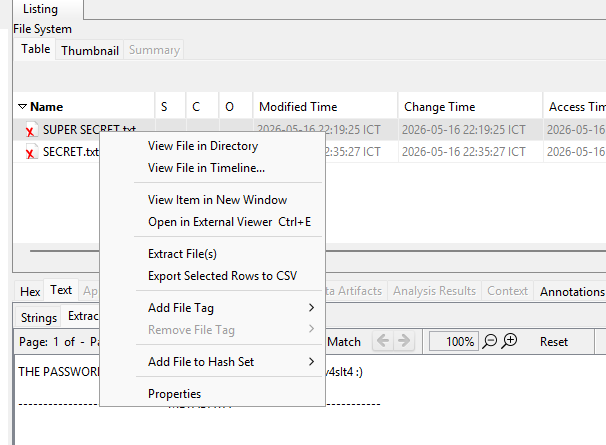
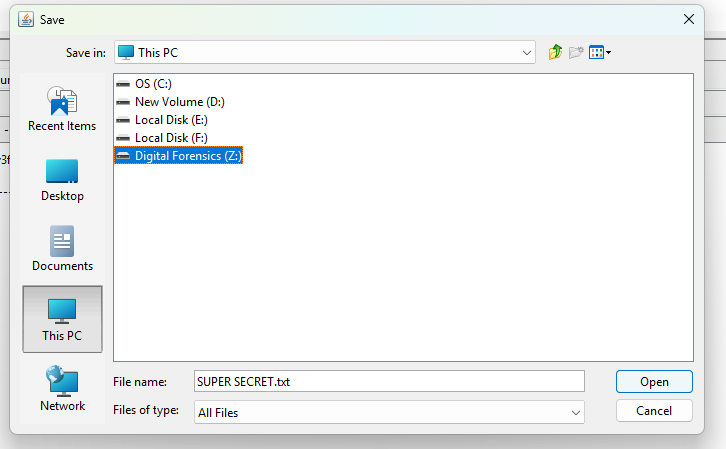
In this scenario, we will extract the recovered files back to an analysis directory.
Conclusion
Through this process, we have successfully acquired a forensic image, analyzed file system activity, and recovered deleted evidence, effectively mirroring the workflow of a digital forensics analyst. This identical procedure can be applied to recover the remaining file.
If you have followed along, I hope this lab has provided valuable insight into the fascinating field of digital forensics. Thank you for your time, and I look forward to sharing more advanced techniques in the future!